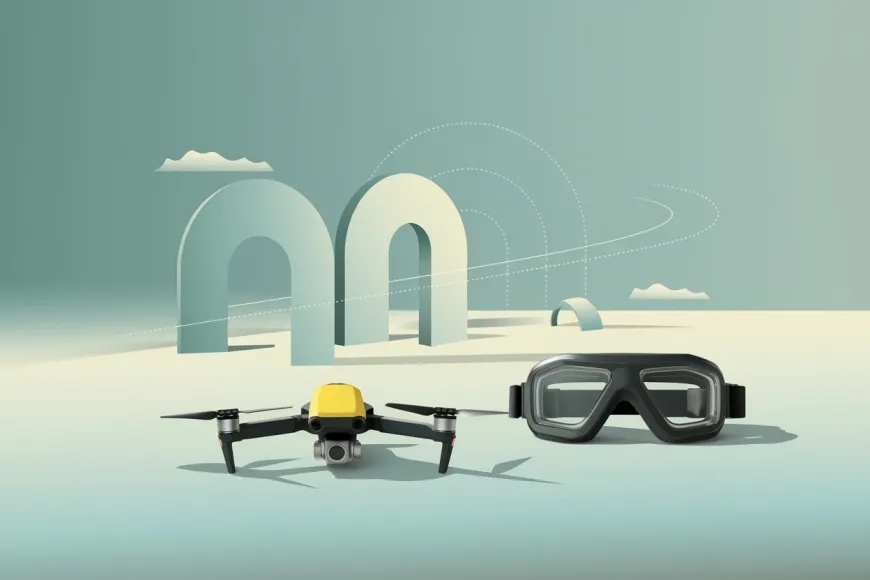
How to Start Flying an FPV Drone: Complete Guide for Beginners on Choosing Equipment, Controller, and Your First Drone
Step-by-step instructions for choosing FPV drone equipment: from the controller to the simulator. Learn how to start drone flights safely and effectively.
Greetings, dear readers. Today we will look at the first steps in FPV-topics, starting with the controller and ending with an FPV drone.
In this article, you will learn which controller to buy and which simulator to choose for training, and at the end, we will consider drone options for your first flights.
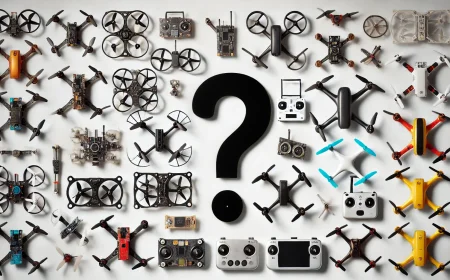
Let's start by understanding what a beginning pilot needs. This is a computer or, in extreme cases, a mobile phone with OTG support. A phone is an option if you are unable to purchase a PC or laptop. A starter kit also includes a controller and an FPV simulator. Purchasing a starter kit is mandatory, because without training, you will crash your drone in the first minute of flight. Therefore, before spending money on a complete flight kit, you need to prepare properly.
First, you need to accumulate at least 10 hours of flight time in the simulator, but this is individual for everyone: some people will need only 5-10 hours, while others will be able to master control only after 30-50 hours. The simulator will help prepare your vestibular system and train reaction speed – this is the most important thing in FPV flights. The simulator also provides the necessary basis for flight, maneuvering skills, and the ability to perfect drone landing.
Let's imagine the worst-case scenario for your training: if during the entire time of training in the simulator you fail to fly, you will save considerable money, because at this stage you don't need goggles and the FPV drone itself. However, I don't know anyone who diligently trained and failed.
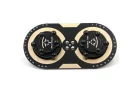
Controller
Let's start with the most important thing. For simulator training, you will need a controller, or in professional language – equipment. It's up to you which equipment to purchase, but I will suggest several options.

The first option is the Emax EZ Pilot Pro RTF Kit, and kits from BetaFPV are also worth considering. This option is good because immediately after training in the simulator, you will be able to enjoy flying a drone, as well as combine flights on FPV and in the simulator. But kits are only effective at the start, as pilots usually quickly outgrow small drones, especially such FPV kits. Plus, the cost is usually higher than a full-fledged controller. Therefore, you need to consider your budget.

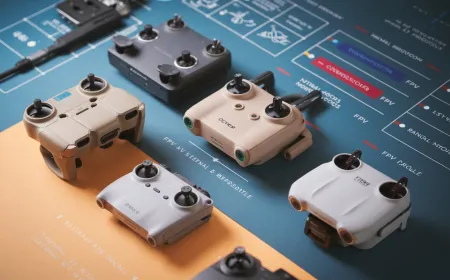
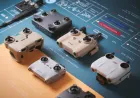
The second option is to buy a professional controller with future prospects, as a professional controller is suitable for flying various FPV drones. One controller can be used for Whoops (TinyWhoop, Whoop), CineWhoops, Freestyle – usually 5-inch, Long Range – usually 7-10-inch. There is a wide variety of such controllers on the internet, they differ in technical characteristics, size, and shape.
Special attention should be paid to the stick format. You need the MKII (M2) layout – this is when the left stick does not spring back in the up-down range. This stick is responsible for throttle. Therefore, DJI equipment is not suitable, as there the stick is constantly positioned in the center. To start, you can purchase a not too expensive controller, and when your hobby develops, you will know exactly what you want to purchase.
When choosing a controller, you should also pay attention to the form factor of the controller.
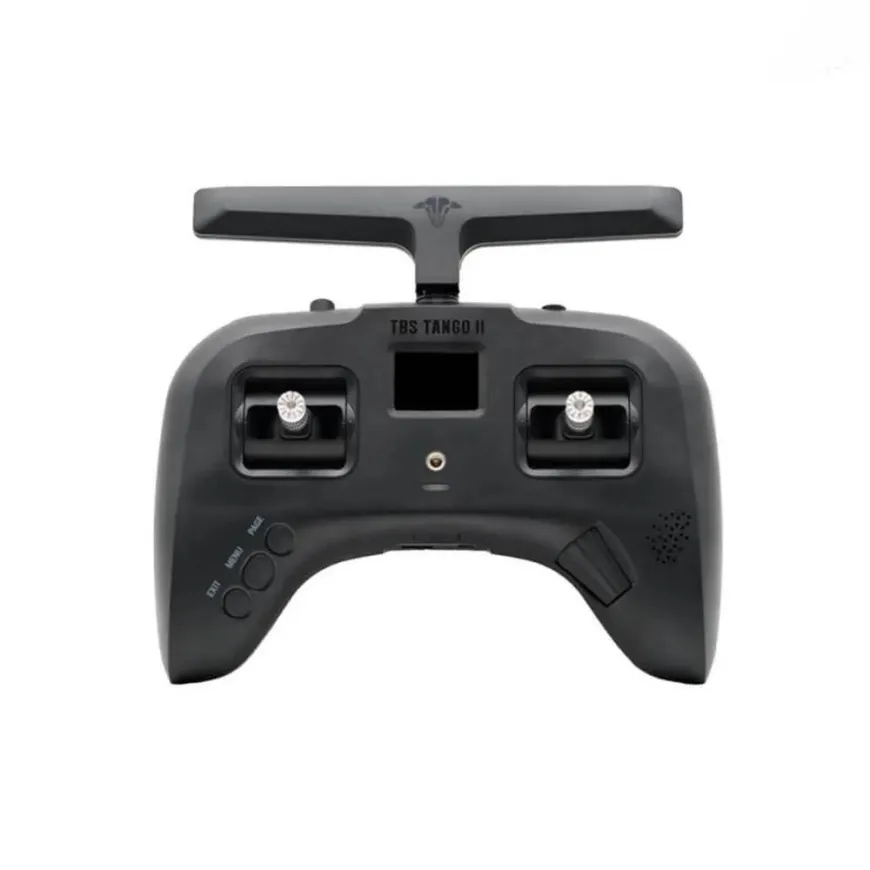
There are controllers in the form of a joystick, such as TBS Tango 2, Jumper T Pro V2. This format may be suitable for those who are used to gaming joysticks and who have a small hand, as all controls are nearby.
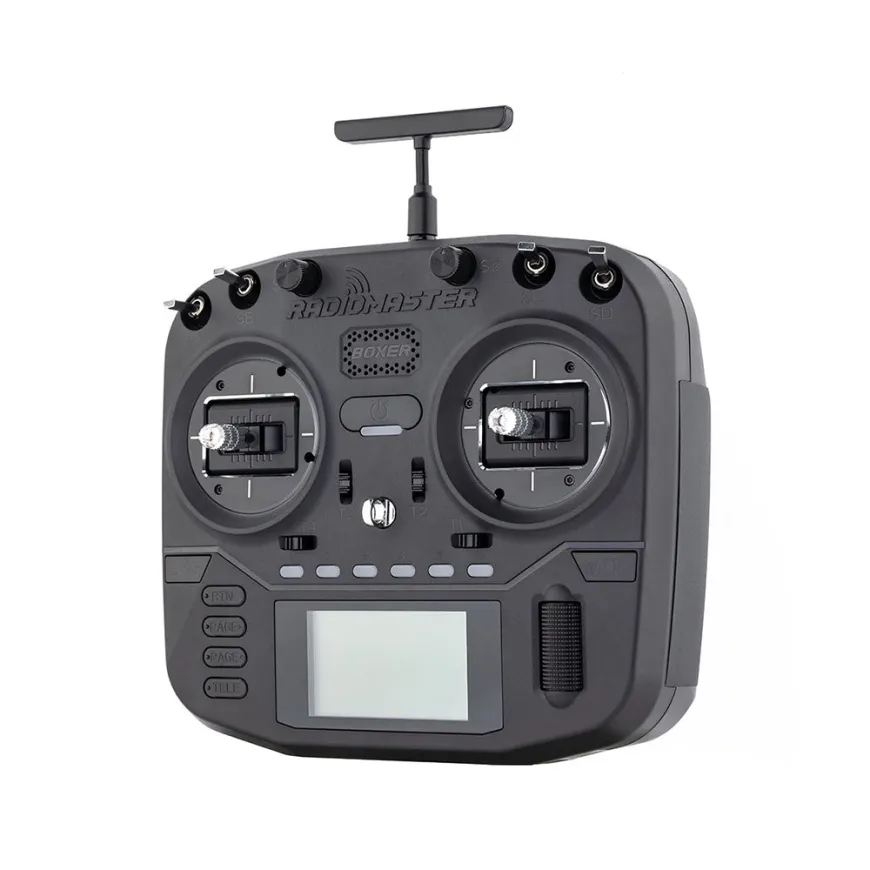
But if you want more traditional equipment for FPV and you have a large hand or musical fingers, then you will find larger equipment more comfortable. It's worth looking at Radiomaster: TX12, Boxer, TX16 and Jumper T14, T15, and T20.
The third thing to pay attention to is the data transmission protocol during flight control. To avoid giving you too complex information at the beginning, let's limit ourselves to the two main protocols currently used – ELRS and TBS Crossfire. ELRS requires more knowledge regarding settings, but it is also cheaper, the ELRS community is large, so you shouldn't worry that something won't work out for you. TBS Crossfire is simpler to connect, has some functions that ELRS doesn't have, but they are for more narrow use, and the cost of TBS is higher than ELRS. I would advise you to buy something from Radiomaster. At the beginning, it's not worth focusing too much on data transmission protocols, as you can always buy an external module with the desired protocol, and flight range can be increased with an external module.
If you don't want to spend on a controller right away, you can purchase a used one, but note that an excessively old controller is not worth taking, as it may not connect to a computer. Also, currently, I recommend using only the TBS Crossfire and ELRS communication protocols. On extremely old models, the sticks are not of very good quality, and this can hinder you or completely discourage you from learning. Often, the M2 layout is confused with M1 (M1 is when the throttle stick is on the right), so be careful before buying.
Why M2, not M1? Because it's like a car with the steering wheel on the right and on the left. M2 is most common in our country, and if you get accustomed to the M1 layout, then sooner or later you will face the fact that you will have to use a controller with the M2 layout.
I don't recommend considering used BetaFPV controllers, as they have a small resource and are usually only suitable for the first stages of FPV – simulator and small drones.
Choosing a Simulator
Now we've reached the flight simulator. In today's reality, there are a sufficient number of flight simulators for different preferences, with different maps, physics, and graphics. You can learn on any of them, the main thing is to understand the physics of flight itself.
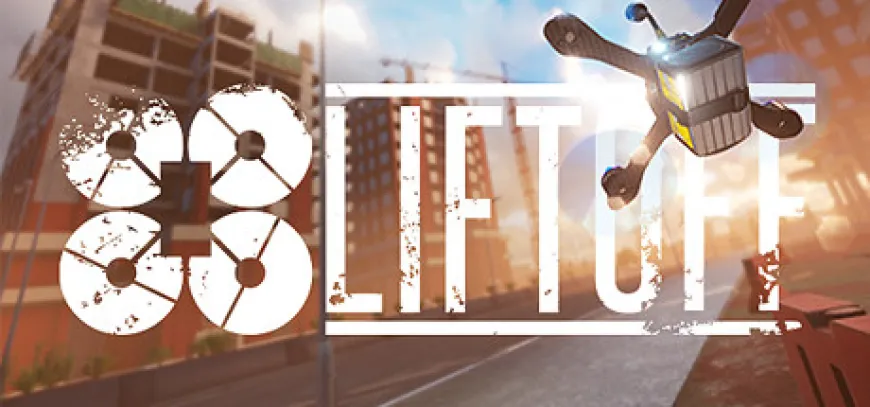
I can recommend Liftoff to you, as it is among the top best simulators, and for good reason: it has physics control maximally close to a real drone, and the graphics are not bad.
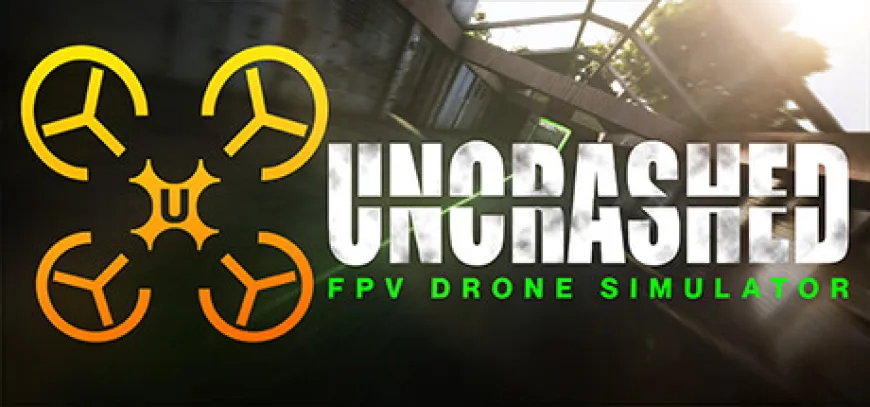
There's also Uncrashed – but it's more of an arcade type. The graphics are already a head higher than its predecessor, although there are fewer maps, but the size itself is larger, there are moving objects. So in any case, you won't be bored.
However, it's not worth fixating on the above-mentioned simulators; there are free options on the internet as well. As mentioned earlier, you can learn to fly on any simulator, but the more realistic the physics, the easier it will be to start flying on a real drone.
I recommend purchasing all simulators on the Steam platform or similar licensed platforms. If your budget is limited, there are also free simulators on these platforms.
By purchasing a good simulator, you will receive updates on time and regularly, and you will support the developer.
Note: before purchasing, don't forget to look at the minimum technical characteristics of the PC for your chosen simulator. This information can usually be found in the description or below the description itself.
How much does control in the simulator differ from a real drone? You don't need to worry too much about this question, as the difference is similar to the difference in controlling TinyWhoop (Whoop), CineWhoop, Freestyle drones. That is, the basic control mechanics, which need to be worked out to automatism, remain unchanged.
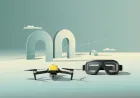
How to Choose Your First Drone
And here it is, the cherry on the cake. With which drone to start your long-awaited flights?
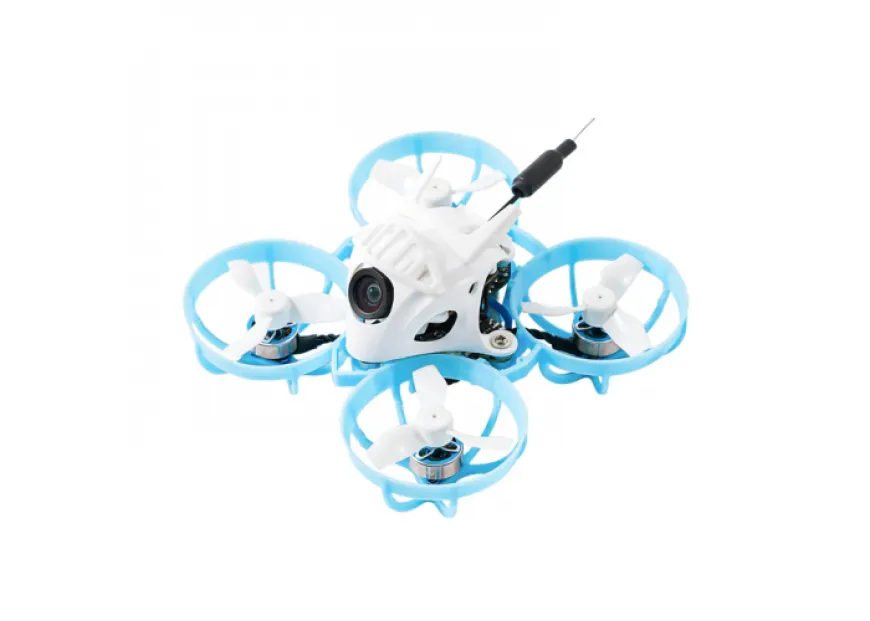
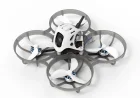
Our recommendations are to purchase a Whoop 65-85 mm, and then something larger, depending on your needs. For example, quite popular are: Mobula, Meteor, and the new BETAFPV Air.
Why exactly is this option better? Given our realities and new laws, you won't be able to fly anywhere, but with a Whoop, you will be able to fly in your own house, in your own yard. Maybe somewhere else, but already at your own discretion and with the knowledge that your actions may carry administrative punishment according to the law of Ukraine. But if you fly in your own private yard and not higher than buildings, then hardly anyone will have questions for you. Don't forget that somewhere there may be an angry neighbor who will harm at the first opportunity (JOKE).
We have already considered how to choose the first drone in the Tinywhoop category, if you are interested you can view the article:
FPV-drone for beginners: how to choose your first drone TinyWhoop?
Having all the necessary equipment, you will be able to move on to the next stage of training.
Please share in the comments whether this information was useful to you and what questions you still have. In future articles, we will try to provide a detailed answer.
What's Your Reaction?
 Like
1
Like
1
 Dislike
0
Dislike
0
 Love
0
Love
0
 Funny
0
Funny
0
 Wow
0
Wow
0
 Sad
0
Sad
0
 Angry
0
Angry
0
FPV — це не просто хобі, а й частина моєї роботи. Я ділюся тільки тим, що дійсно корисне та цікаве. Ласкаво прошу в світ FPV!


Comments (0)